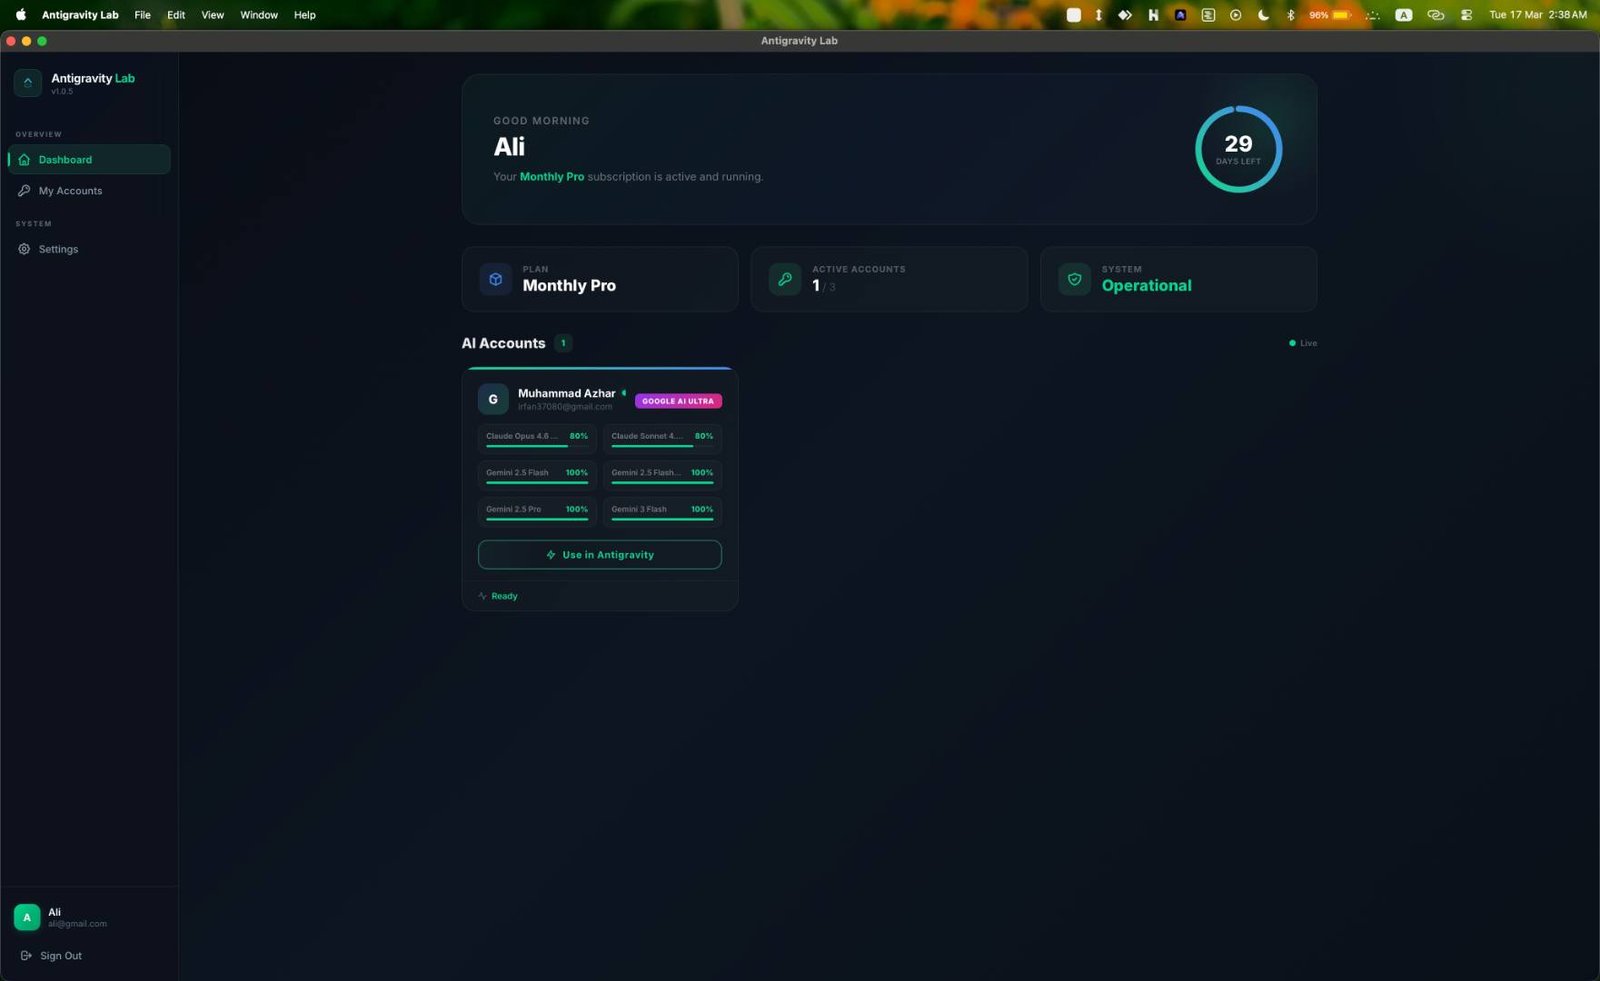
Use our IDE Extension (recommended) or the Desktop Client to connect your AI accounts.
IDE Extension (Recommended)
macOS
Windows
Linux
Demo
Watch how it works
Recommended
Method 1 — IDE Extension
The fastest way to get started. Install directly inside Google Antigravity IDE — no separate app needed.
1
Install the Extension
Open Google Antigravity IDE, go to the Extensions tab (Ctrl+Shift+X / ⌘+Shift+X), search for "Ultra Quota", and click Install.
Search "Ultra Quota"
Find it in the Extensions marketplace
Click Install
One click — no terminal commands needed
2
Login with Your Account
After installing, you'll see a Google "G" icon in the sidebar activity bar. Click it, then enter the email and password provided by us to sign in.
Click the "G" Icon
Appears in the sidebar after install
Enter Credentials
Use the email & password given to you
3
Select an Account & Start Using
Once logged in, you'll see all the AI accounts assigned to you. Click any account to activate it — the extension handles everything automatically. You're now logged into Antigravity IDE and ready to go.
View Your Accounts
All assigned accounts listed in the sidebar
One-Click Activate
Click any account → instantly connected
Alternative
Method 2 — Desktop Client
Prefer a standalone app? Download the Ultra Quota desktop client for macOS, Windows, or Linux.
1
Download & Install
Pick your operating system below and run the install command in your terminal.
Open the app and click "Login". It will open your browser — sign in with the same email and password you used to register.
Browser Login
Opens automatically — enter your credentials
Secure Connection
Hardware-locked to your device
3
Click "Inject" and You're Done
The app shows your assigned AI accounts. Click "Inject" on any account — it will close Antigravity, apply your token, and relaunch it ready to use.
One-Click Activation
Click Inject → account ready in seconds
Auto-Refresh
Tokens refresh automatically every 50 min
FAQ
Common Questions
Which method should I use — Extension or Desktop Client?
We recommend the IDE Extension — it's the easiest and fastest way. Install it directly inside Google Antigravity IDE, no separate app to download or manage. The desktop client is available as an alternative if you prefer a standalone application.
Is the app safe to install?
Yes. Ultra Quota is a Tauri-based app (Rust + React). It's open-source — you can review the full source code on our GitHub repository. On macOS, the installer automatically removes quarantine flags so you won't get security popups.
What if I get an "unidentified developer" warning on macOS?
The automated installer handles this for you. If you used the manual download instead, run this command in Terminal:
xattr -cr /Applications/Ultra\ Quota.app
How do I switch between AI accounts?
In the app, click "Inject" on a different account. It'll automatically switch — closing the current session and applying the new one. The whole process takes about 3 seconds.
Do I need to keep the app running?
Yes — the app runs in your system tray (menu bar on macOS, taskbar on Windows). It automatically refreshes your token every 50 minutes so your session never expires. If you close the app, your current session will still work until the token expires (~1 hour).
Does it auto-update?
Yes. The app checks for updates on every launch. If an update is available, it installs automatically. No manual action needed.
I don't have a subscription yet. What should I do?
Create a free account, choose a plan, and complete payment. Once verified, your AI account is assigned automatically and you can start using the desktop app.
Don't have an account yet?
Sign up in 30 seconds — plans start at just a few dollars.